
Perks of having this setup
Trust me, this setup is a game changer for document management:
- you can write as much documents as you want (limit will be only github codespace storage)
- All your files will be on your private repo
- Ai assisted Doc Refinements and writing
- Version Control via Git
- Organized documents
- Wide Range of document generation
You can do the same setup locally but it would require more space + WSL ( Windows Sub System for Linux).
Limitations to Keep in Mind
While Codespaces are awesome, they do have some limits:
- Usage Hours: GitHub Free generally gives 120 core hours per month (60 hours on a 2-core machine).
- Storage: You have a 15GB/month storage limit.
- Timeout: The environment hibernates after 30 minutes of inactivity (save your work!).
If you run out of hours, you'll need to wait for next month or pay up. Or... use the local method below!
Here's quick guide with screenshots on How to do it?
The must have things you'll need
Before jumping in, check off this list:
- GitHub account ( if you have pro account via Edu pack that's a ++ ;)
- VS code on your local pc
That's it for the tools.
Setting up the Repository
Second thing you have to do is create a repo Privately ( unless you want to make all your documents Public lol)
Setup and Configuration
go to https://github.com/codespaces/
then click open codespace in VS code
after that wait for 10-15 sec your codespace environment will open.
Install the Extension
then you'll need this extension in your codespace vs code install it
https://marketplace.visualstudio.com/items?itemName=James-Yu.latex-workshop
then run all these commands one by one.
1. Install Dependencies
First, get the necessary tools for the installation.
sudo apt install -y perl wget tar2. Download and Extract Installer
Move to a temporary folder and download the official installer.
cd /tmpwget https://mirror.ctan.org/systems/texlive/tlnet/install-tl-unx.tar.gztar -xzf install-tl-unx.tar.gz3. Run the Installation
Enter the directory and start the script.
cd install-tl-*/sudo ./install-tlWhen prompted, just type I to proceed.
I # choose the default options and it will install everythingIt will take around 30-45 min to install everything so be patient
4. Update Path Variables
We need to tell the system where the new files are.
echo 'export PATH=/usr/local/texlive/2025/bin/x86_64-linux:$PATH' >> ~/.bashrcApply the changes:
source ~/.bashrc5. Verify Installation
Check if everything is working correctly.
which pdflatexpdflatex --versionnow open a new terminal in vs code or you can reboot codespace too
now you are all set 🎉
Alternative: Local Setup (WSL)
Don't want to rely on the cloud? You can run this tailored setup on Windows using WSL (Windows Subsystem for Linux).
- Open PowerShell as Administrator and run:
wsl --install(then restart computer). - Open "Ubuntu" from your start menu.
- Install VS Code on Windows.
- Install the WSL Extension in VS Code.
- Open your folder in WSL using VS Code (
code .).
That's it! Now just follow the exact same Steps 1-5 from the "Setup and Configuration" section above inside your WSL terminal.
Using LaTeX
now create a resume.tex file and you can render it via these two buttons
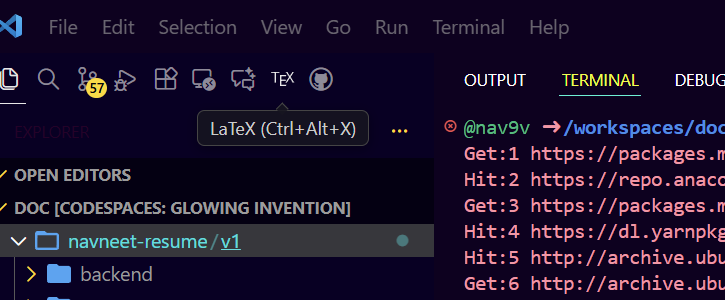
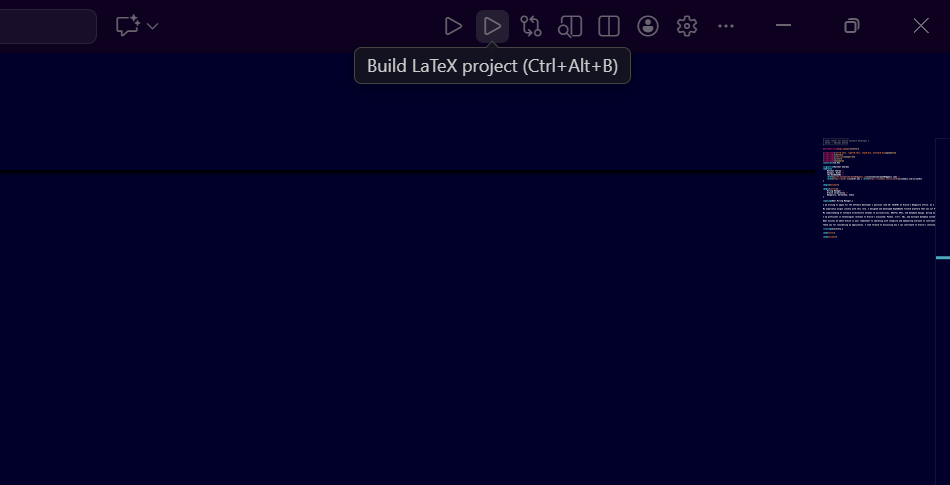
or via this command
cd /workspaces/<your-repo-name>/resume && pdflatex resume.texyou can also have icons via this library in your resume (optional but pretty cool)
sudo tlmgr install fontawesome5That's it! You now have a fully functional LaTeX environment in GitHub Codespaces. Happy document writing! 📝